

Graphics Installation & Removal
Whether you need professional help or plan to apply your graphics yourself, WISPI can help you get the job done correctly. Explore our installation and removal services, or follow our step-by-step application instructions.
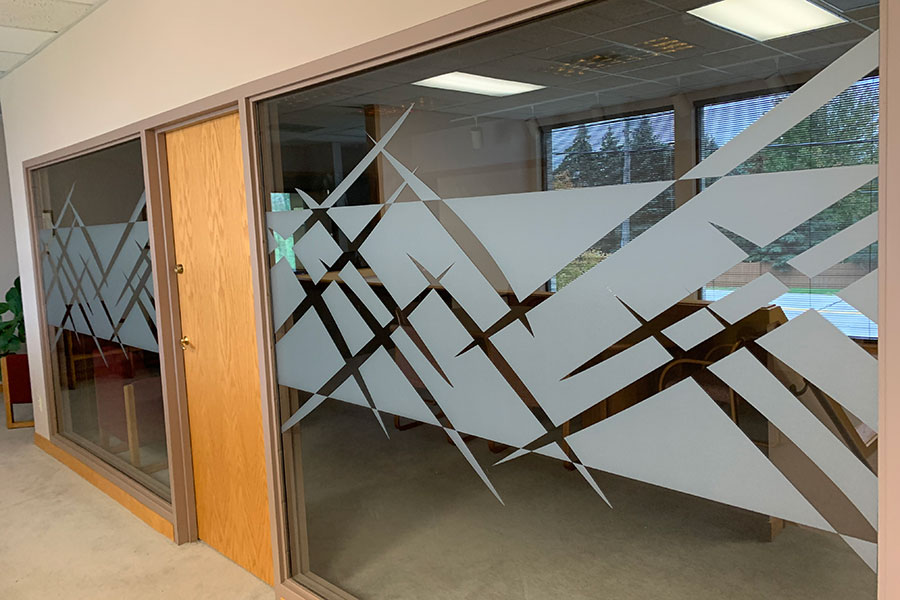
Professional Installation or Removal
Need help installing your new graphics? WISPI provides professional installation and removal service for almost any situation!
Applying or Removing Graphics Yourself
Prefer to apply your graphics yourself? Follow our step-by-step instructions, or check out our application videos on YouTube!
Graphics Installation and Removal
We provide professional graphics installation and removal services for all types of vehicles, truck fleets, interior and exterior walls, and more.
Our experienced team can prepare surfaces of nearly any size or type to ensure a smooth, successful installation.
Every member of WISPI’s professional installation team is highly trained and brings years of hands-on experience to each project. We follow industry-standard installation procedures and use tools and techniques recommended by leading manufacturers, including 3M.
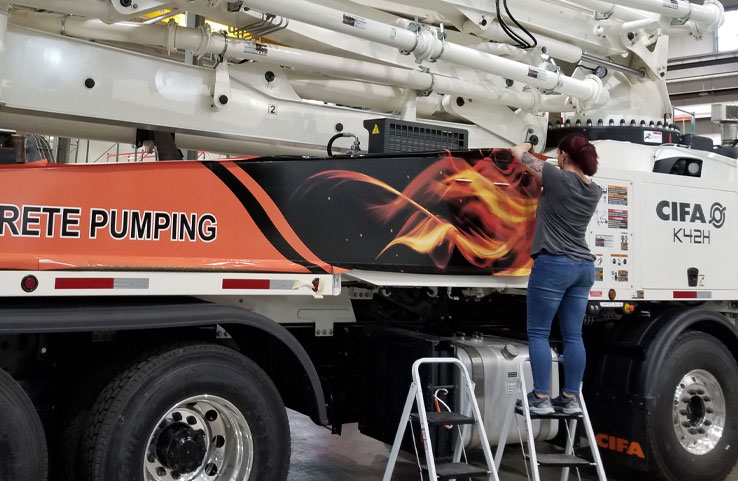
WISPI’s Expert Vehicle Installation
WISPI’s expert installation team applies vehicle graphics with precision and care. We ensure that every installation is flawless and built to last.
Watch this short video to see how our proven process produces clean alignment, strong adhesion, and a long-lasting finish.
Application Instructions
View our official Decal Application Instructions
Download (PDF)IMPORTANT– DO NOT APPLY GRAPHICS IF THE SURFACE TEMPERATURE IS BELOW 50°F or ABOVE 100°F. PLEASE TAPE ALL DECALS IN PLACE PER THE ATTACHED LAYOUT BEFORE APPLYING.
Need to remove your old graphics first? Check out our removal instructions!
1
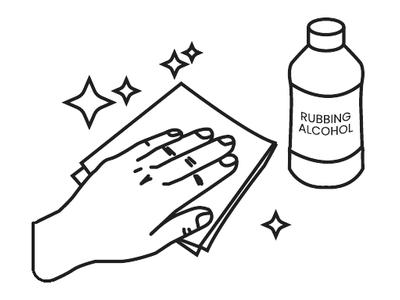
Prep the Surface
Clean the surface the decal will be applied to. For vehicles, wipe down the surface with rubbing alcohol and wipe dry with paper towels.
2
Decal Alignment
If a layout is provided, align the decal using those specifications. If not, measure the surface to determine the proper placement for the decal.

3
Create the Hinge
After decal is positioned, secure it to the surface with masking tape through the middle of the decal, either top to bottom or side to side. This will be your hinge.
4
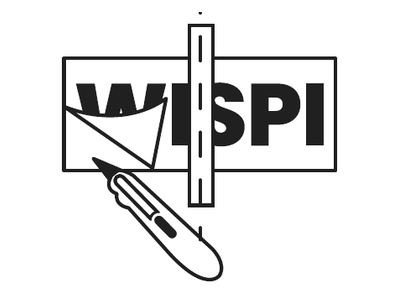
Remove the Liner
Carefully peel back the bottom layer of paper (the liner), leaving the decal stuck to the top layer (the premask), all the way to the hinge. Cut away the liner at the hinge.
5
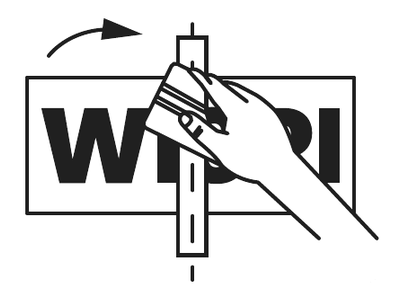
Apply the Decal
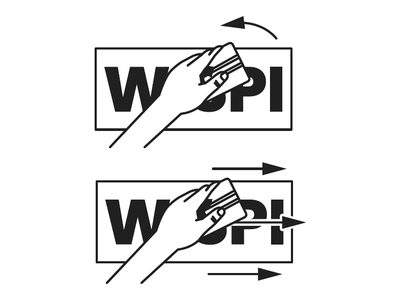
While holding the loose end of the decal away from the surface, use a squeegee to slowly lower the decal to the surface. ALWAYS start in the middle and work outwards.
6
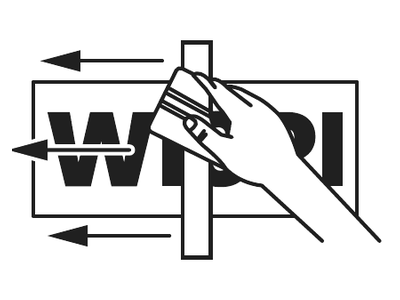
Smooth the Decal
Use smooth strokes to press the decal to the surface and to work out any air bubbles. NEVER use a back and forth scrubbing motion.
7
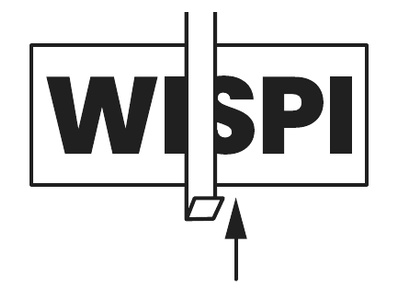
Remove the Hinge
Remove your masking tape hinge.
8
Remove the Liner
Remove the liner from the remaining side, taking care to hold loose end away from surface.

9
Repeat on Other Side
Repeat steps 5 & 6 with the remaining side.
10
Remove the Premask
After all air bubbles have been smoothed out, start at one corner and slowly pull the top layer away. Use slow and even pressure and pull the paper back over onto itself.

11
Finishing
After the premask has been removed, take a soft cloth and carefully go over decal, using slight pressure. This will reapply any edges you may have pulled up when removing the top paper.

PLEASE CUT OUT ANY PART OF THE GRAPHICS THAT APPLY OVER NON-PAINTED PLASTIC MOULDING. HOWEVER, IT IS ACCEPTABLE TO APPLY THE GRAPHICS OVER PAINTED MOULDING.
Removal Instructions
View our official Decal Removal Instructions
Download (PDF)IMPORTANT– PLEASE REVIEW THIS REMOVAL GUIDE BEFORE ATTEMPTING TO REMOVE THE EXISTING GRAPHICS. IF YOU HAVE ANY QUESTIONS, PLEASE CONTACT orders@wispi.com OR CALL 262-639-0990.

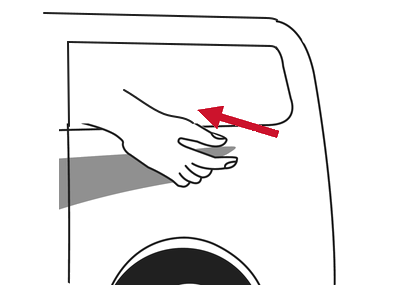
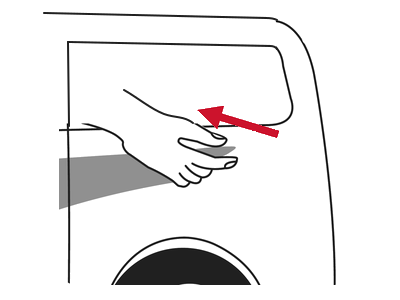
Fig. 1. Angle of Pull-Off
Method A: Unaided Film Removal
This removal method should work for most applications.
If you cannot lift a corner of the decal using your fingers, use a razor or knife to lift a corner of the decal, and use the “High Pull-Off Angle” shown in Fig. 1.
1
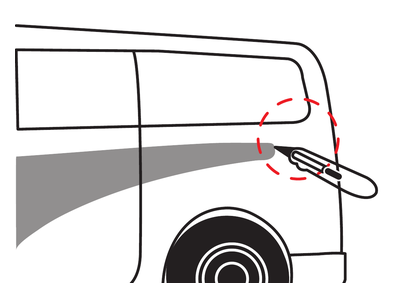
Lift a corner of the decal. Use a razor, knife or air release tool if necessary.
2
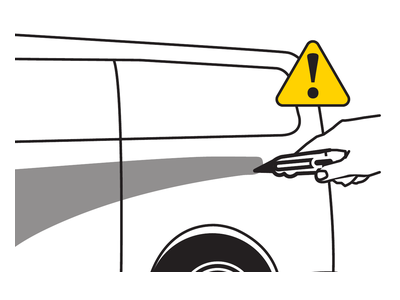
If using a cutting tool, be careful not to cut the painted surface.
3
Pull the graphic slowly away from the substrate using a high pull-off angle (Fig. 1).
4
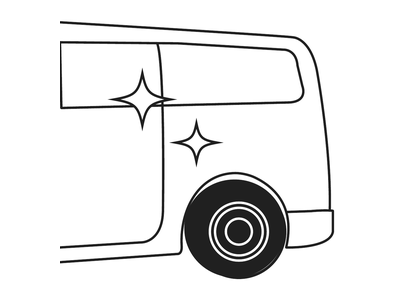
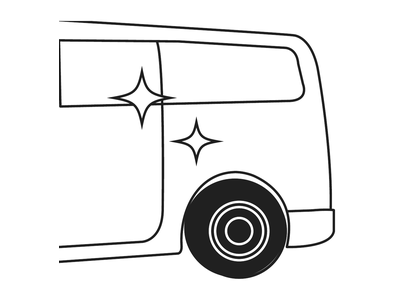
There should be no residual adhesive.
5
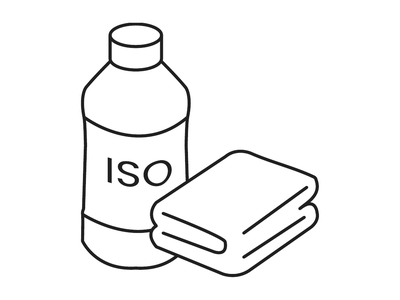
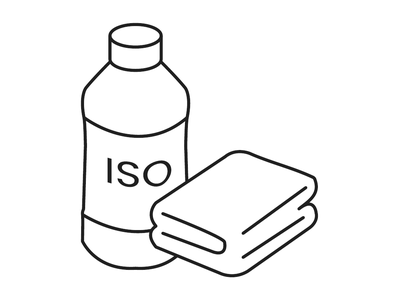
If adhesive remains, use mild isopropyl alcohol and wipe gently with a clean cloth.
Method B: Heat-Aided Film Removal
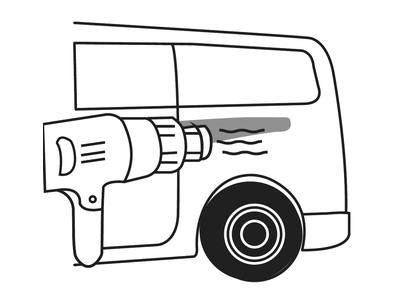
If you cannot remove the decal using the unaided film removal process, then use a heat gun to warm the decal. The heat makes it easier to lift and remove the decal.
Heat the surface to 160°-200°F (72°-93°C). Note that some substrates are heat-sensitive, so use caution with this method.
1
Warm the decal with a heat gun. Keep the gun moving.
2
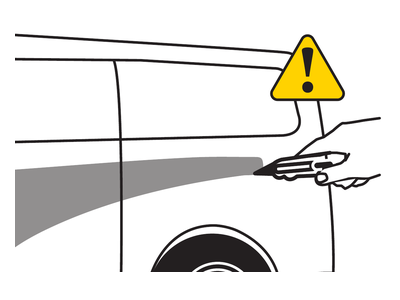
Lift a corner of the softened decal. Be careful not to damage the painted surface.
3
Pull the graphic slowly away from the substrate using a high pull-off angle (Fig. 1).
4
There should be no residual adhesive.
5
If adhesive remains, use mild isopropyl alcohol and wipe gently with a clean cloth.
Watch: How to Apply a Wall Graphic
We demonstrate how to apply a pre-spaced wall graphic to a smooth wall surface.