
Resources
We can design and produce the best quality graphics for you, but if they’re not installed properly, they won’t be worth the backing paper they were peeled off of. Keep reading for more information on our graphics installation services or for application instructions if you decide to go it alone…don’t worry, you can do it! We have faith in you!
Graphics Installation and Removal
Our professional installers can accurately prepare any size and type of surface for your graphic installation. From simple car decals to involved wraps with complex curves, we have the expertise to complete the installation. Our installers use installation procedures and tools recommended by leading corporations such as 3M.

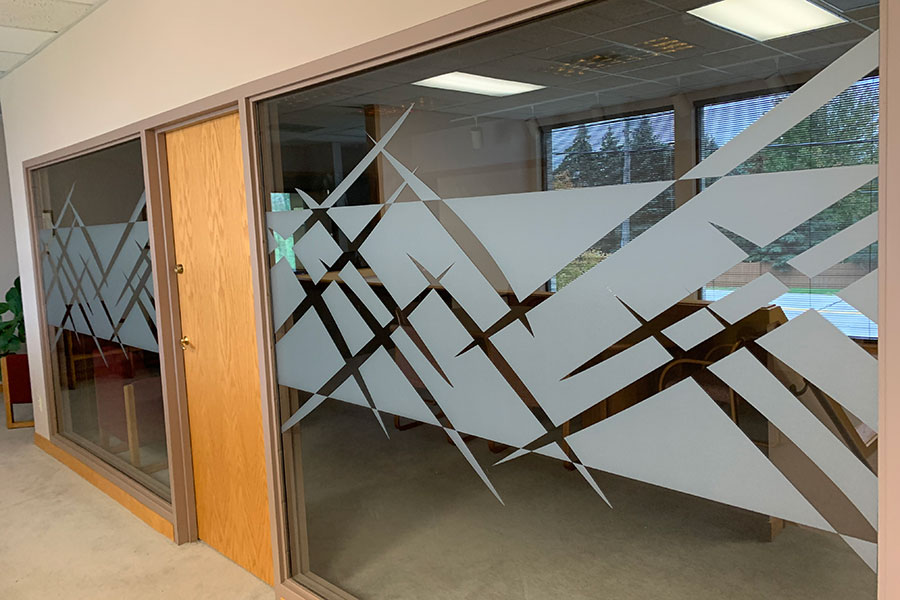
In preparation for a new installation or a de-commissioned vehicle or surface, we offer services for the removal of any kind of graphics with no damage to the surface. Biodegradable, environmentally safe, non-toxic adhesive removers are used in the removal process. We provide installation and removal on a wide range of surfaces including vehicles, truck fleets, and walls from inside to outside.
When applying decals on your own, make sure to carefully read the application instructions so your decal will adhere correctly.
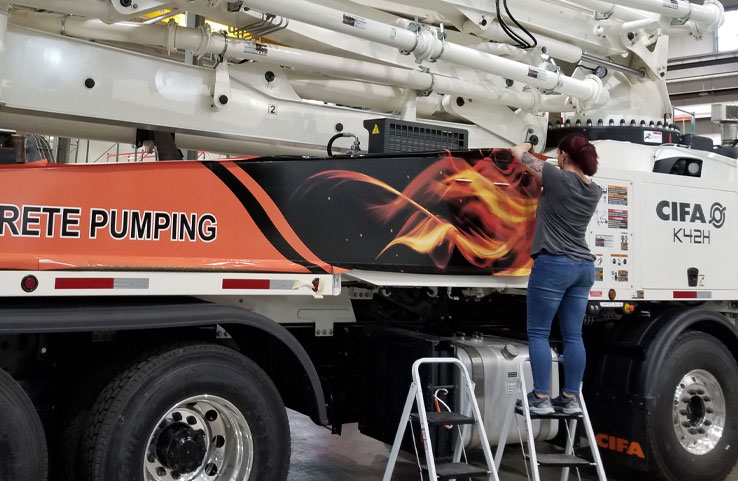
WISPI’s Expert Vehicle Decal Installation
The skilled, expert vehicle installers at WISPI are highly trained in the precise art of vinyl vehicle wrapping, ensuring every installation is flawless and built to last. With years of experience, they deliver top-tier craftsmanship to enhance your vehicle’s appearance and protect its surfaces.
Application Instructions
Make sure to read and download the application instructions, so your decal will adhere correctly.
IMPORTANT– DO NOT APPLY GRAPHICS IF THE SURFACE TEMPERATURE IS BELOW 50°F or ABOVE 100°F. PLEASE TAPE ALL DECALS IN PLACE PER THE ATTACHED LAYOUT BEFORE APPLYING.
- Clean the surface to which the decal is to be applied. After cleaning, wipe down surface with rubbing alcohol and then wipe dry with paper towels.
- Align decal as per attached layout.
- After decal is positioned, secure it to the surface with masking tape through the middle of the decal, either top to bottom or side to side. This will be your hinge.
- Carefully peel back the bottom layer of paper, leaving the decal stuck to the top layer, all the way to the hinge. Cut away bottom paper at the hinge.
- While holding the loose end of the decal away from the surface, use a squeegee to slowly lower the decal to the surface. ALWAYS start in the middle and work your way out.
- Use smooth strokes to press the decal to the surface and to work out any air bubbles. NEVER use a back and forth scrubbing motion.
- Remove your masking tape hinge.
- Remove the paper backing from the remaining side, taking care to hold loose end away from surface..
- Repeat steps 5 & 6 with remaining side.
- After all air bubbles have been smoothed out, start at one corner and slowly pull the top layer away. Use slow and even pressure and pull the paper back over onto itself.
- After the paper has been removed, take a soft cloth and carefully go over decal, using slight pressure. This will reapply any edges you may have pulled up when removing the top paper.
PLEASE CUT OUT ANY PART OF THE GRAPHICS THAT APPLY OVER NON-PAINTED PLASTIC MOULDING. HOWEVER, IT IS ACCEPTABLE TO APPLY THE GRAPHICS OVER PAINTED MOULDING.
WATCH: How to Apply a Wall Graphic